

You would think that I would have learnt by now, not to ask the boys what kind of Birthday cake they want. Or one step better - just go and buy one from a shop. But no. I haven't. I felt guilty as I made little man have a small party at home and therefore asked him what cake he would like for his Halloween Birthday Party. I was hoping for a bat or spider. He wanted a happy pumpkin!
I started by making 4 square sponges and 1 small round sponge.
I did this by splitting a simple cake mixture: lb butter, lb caster sugar, lb self raising flour and 8 eggs.
I then sandwiched these together using vanilla frosting.
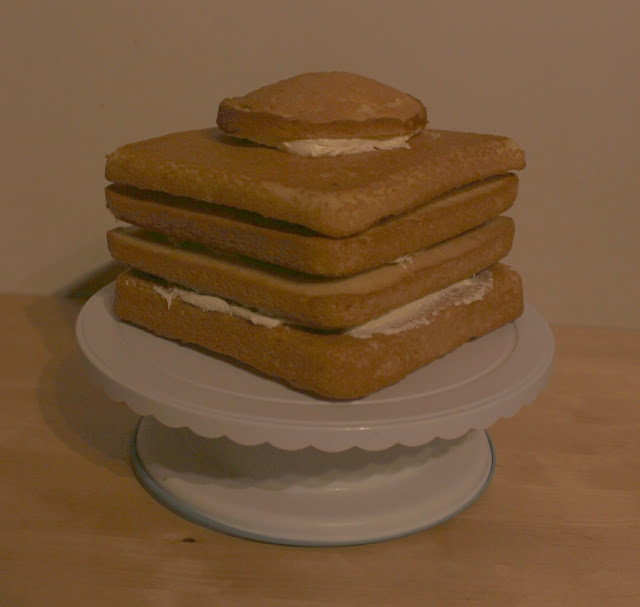
To make the cake easier to cut, I popped it into the freezer. I then cut it to shape and used some frosting crumb (frosting plus cake crumbs from the off cuts) to make it into a smoother shape. I fully coated the cake in frosting and popped it back into the freezer.

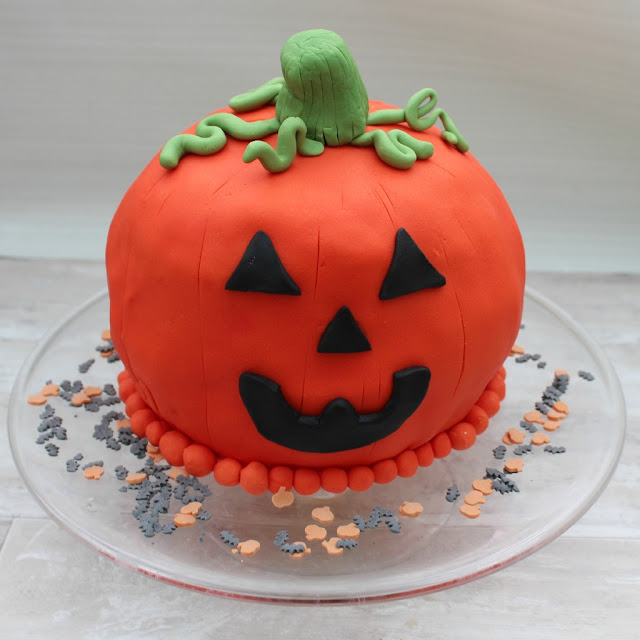
I then covered in orange icing.
To neaten the edges I put orange balls around the edge and I scored some lines to give it some texture.
I prepared some green icing with CMC to use for the top and once they had dried I used edible glue to stick them on.
All that was left was to cut out a happy face with black icing. According to little man I failed at this as he felt it was a bit angry! Luckily the excitement of his Birthday party meant he was OK with an angry faced pumpkin!
No comments:
Post a Comment